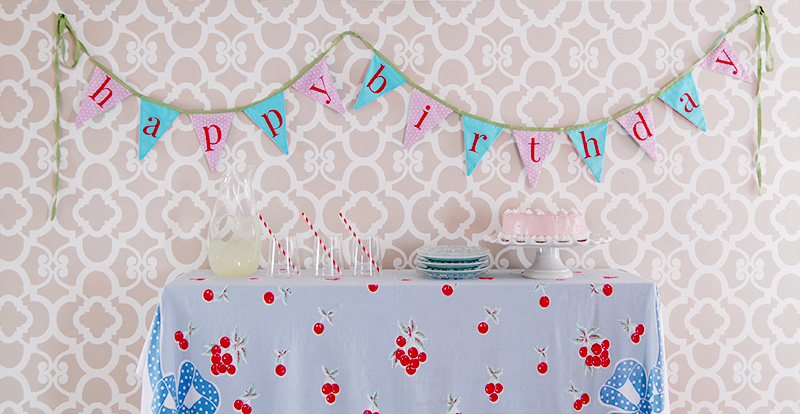
 It’s been a big birthday week in our house. First it was my daughter’s 5th, then the next day was mine. We needed some serious birthday decor going on in the house. And lately I have been loving this birthday pennant idea! (see her pennant cake topper here.) They are just so charming; plus I love the idea of something we use for every birthday instead of always buying new crap and then throwing it out.
I spent the week before the birthdays having sunrise/sunset moments that my little Ella was turning five. As I was sewing this I wondered if one day we’ll hang it up for her kid’s birthday (sob). This did take me about 6 hours to complete, but it seemed like a small time investment to make a family heirloom.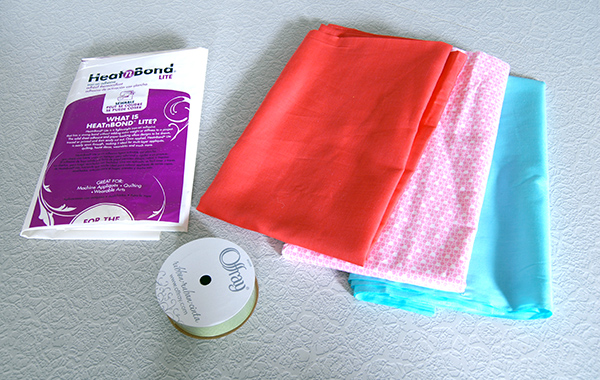
supplies:
- 2 contrasting colors/patterns of fabric for triangles, 1 yard each
- 1 foot fabric for letters
- heat n bond lite
- 1-1″ thick spool of ribbon
- freezer paper
Iron all your fabric flat.
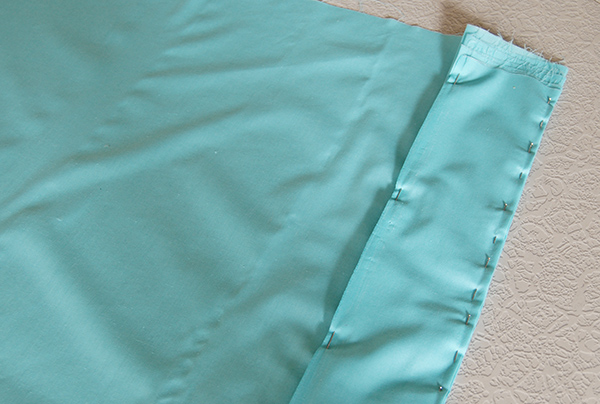
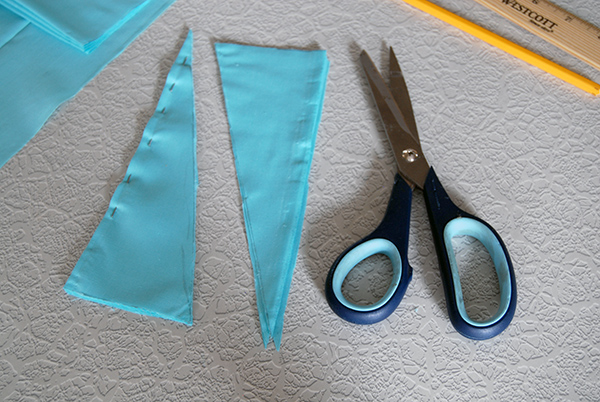
To make pennants 6″ wide by 8″ long, begin by folding the fabric 3″ in. Pin along the 3″ fold approximately 16-18″ down (in case your fabric does not line up evenly on top). Pin in place, flip fabric over and fold back along the fabric to 3″ mark. Fold again. Keep going until you have folded 7 times.
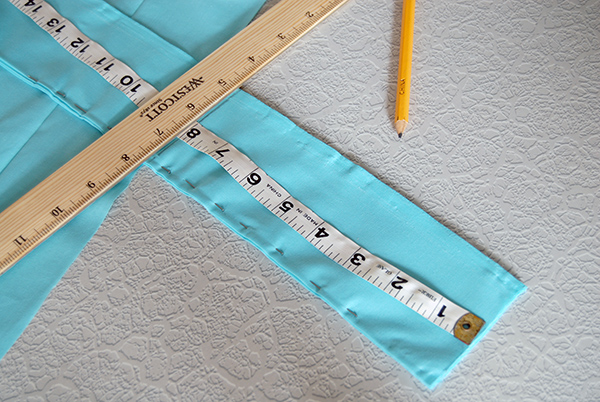
Cut folds at the 3″ mark from the rest of the fabric. If not even on top, use fabric pen to draw a straight line across top and trim to make the top even. Mark 8″ from the top and make a straight line across. Repeat one more time down. Iron pieces flat.
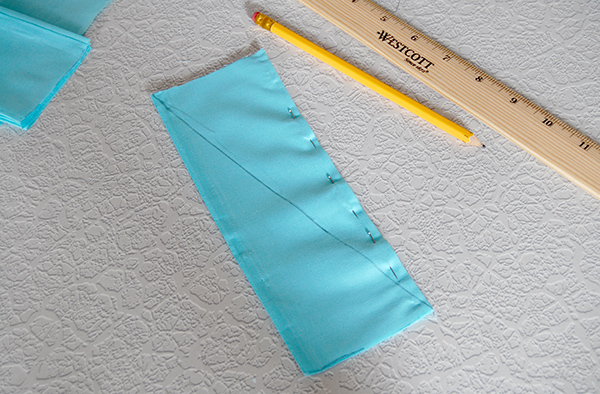
Draw a diagonal line on both pieces from the top outside corner edge to the bottom inside corner. Make sure you are starting at the edge of the fabric on the the top corner. Cut along the line. Unpin and unfold. You will have 7 triangles and 2 half triangles. Discard half triangles. Cut the other piece on the same diagonal.
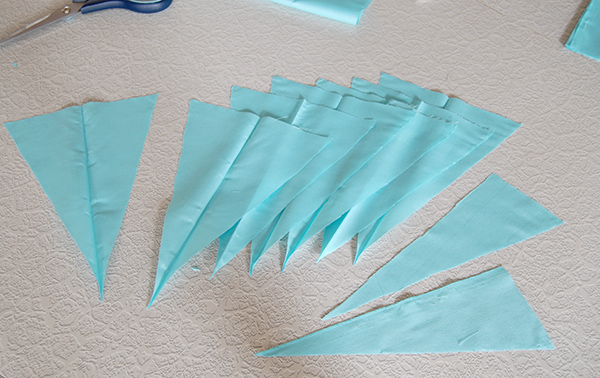
Repeat the process with the second fabric. Iron all triangles flat.
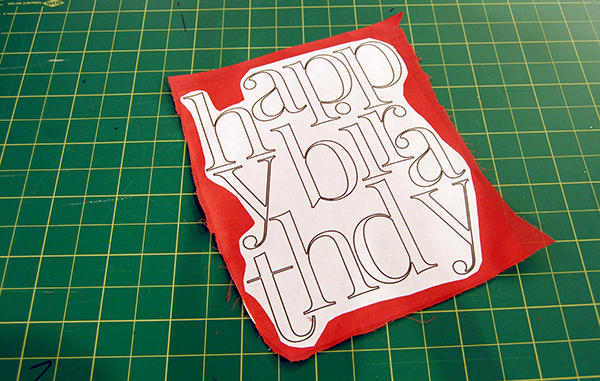
To make the letters, I cut a piece of freezer paper to letter size (8.5 x 11). Using photoshop, I laid out my letters to fit on the page. I used the Playfair display font at 300 pt. I also hollowed out the inside of the letters to save ink. You can grab the pdf of my letters template here. Print letters onto the paper side of the freezer paper(not the shiny side!). Iron the freezer paper shiny side down onto your letter fabric. Take the heat-n-bond and match adhesive side to bottom of fabric. Trim excess bond away and iron together. Let cool.
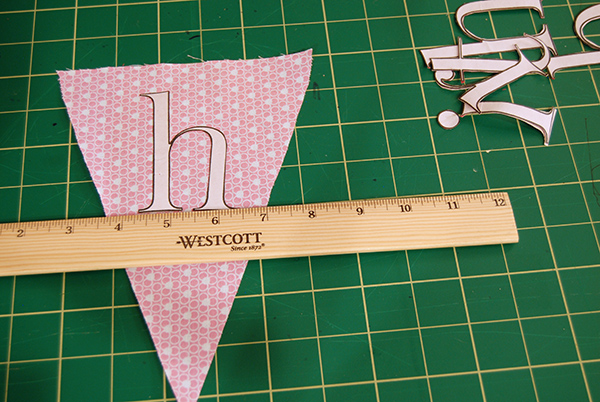
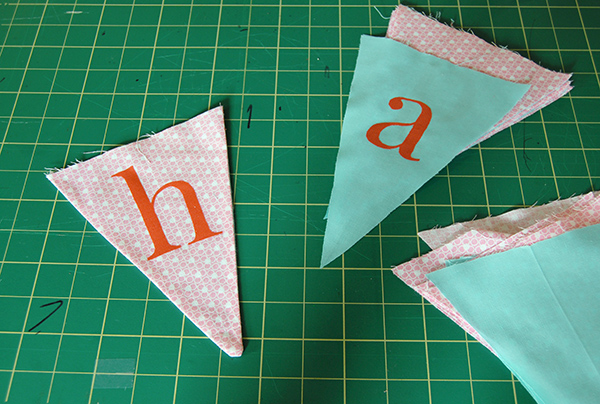
Cut out letters. Peel paper backing off the heat and bond. Pin each letter to pennant, alternating fabric for each letter. I pinned mine so bottom part of letter(in case of “p” and “y” bottom curve of the letter) 4″ from the top. Iron onto fabric and let cool. Peel off freezer paper from front of letters.
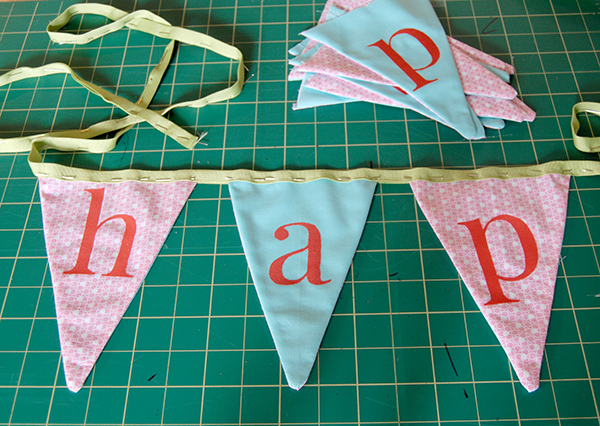
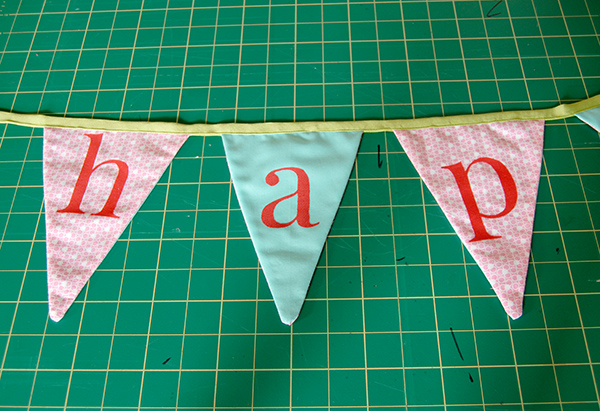
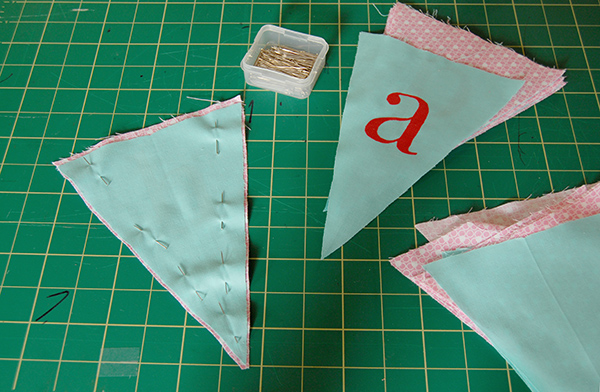
Pin pennant triangles together, right sides facing. I alternated fabric front and backs. Sew along the 2 side edges of the triangle. Don’t sew the top together! Turn right side out and iron flat. Repeat for all letters. Trim tops if uneven.
Take your ribbon and fold in half lengthwise. Pin in place and iron flat. Position your letters, tucking in the tops of the letters between the fold of the ribbon and pinning in place. I pinned mine leaving a 4′ tail on each end, with 1″ between each letter and 6″ between the two words. Trim excess ribbon after 4′ tail end. Starting at the beginning of the ribbon, stitch along the edge of the ribbon to end.