
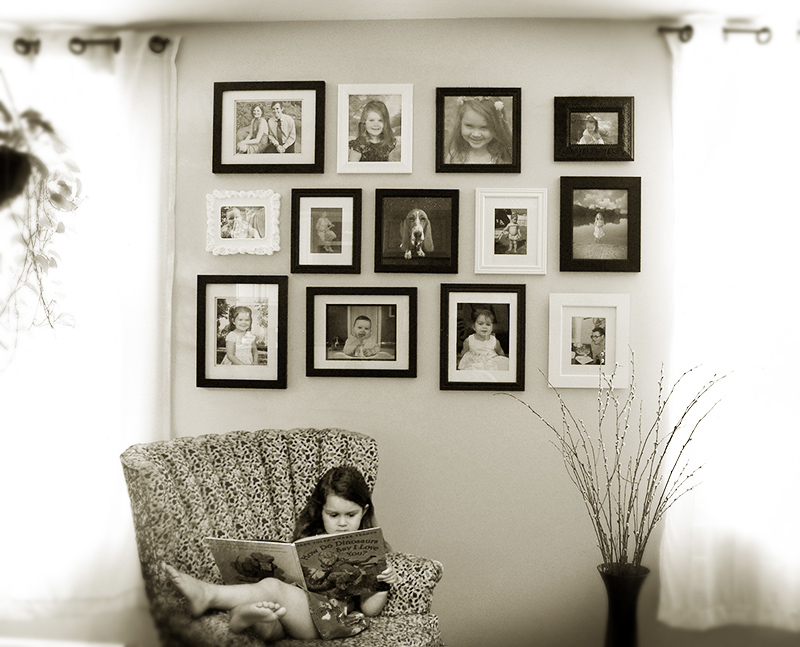

Part of being a mom(and a photographer!) is I am always having new photographs to add to my walls. And after months of living in chaos after remodeling and repainting our apartment, it’s time to hang them up! I’ve been staring at blank walls for too long already! I have all my family pictures(ok, mostly pictures of Ella) in a variety of black frames with a few white ones thrown in. I love the continuity this gives to my pictures. I usually buy my frames at Michael’s, and always when they are having a sale(which is all the time, almost). I like to matte some, but not others, and usually a bunch of different sizes. It keeps things interesting, right?
This is much easier to do than it looks, and it ends up looking so polished! So if you have a stack of frames and a couple of free hours, here’s what to do:
supplies:
- pictures in frames
- tape measure
- masking tape
- scissors
- tissue paper
- pencil
- marker
- hammer
- nails
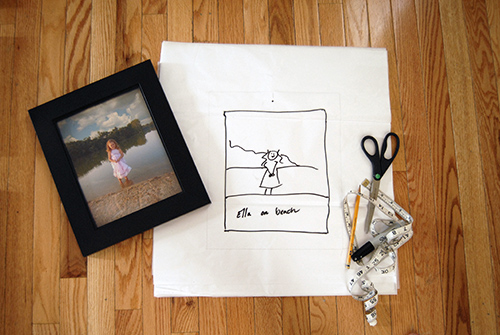
Start by tracing your frames onto the tissue paper. I like to draw a picture of what the photo is on the inside. It helps me visualize the wall when they are hanging up, and it makes it easier to match them to the frames in the future if you want to rearrange your wall. I recognize that this is a little OCD of me, so feel free to skip this step. Mark on your traced template where the hook is. Cut out and set aside.
 Measure the space you want your gallery wall to hang. Use masking tape to mark the area on your floor. Place frames in the marked off area and move around until you like the way they look. Try to have a picture in the center(see hound dog, below). It makes the other pictures seem to radiate outward. This is also much easier to add onto if you want to add more frames in the future. Which I will.
There’s a few different ways to configure you frames. You can line them up on the outside edges:
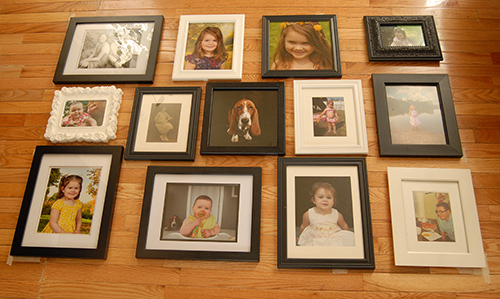 you can make the spaces between them even:
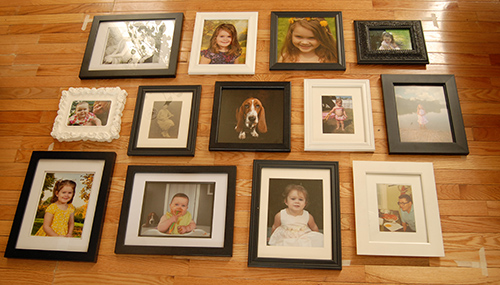 or you can split the difference and have rough outside edges. I chose this version. If you add a picture onto your wall afterward, it blends better.
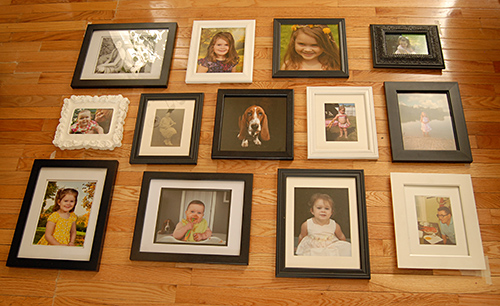 Once you have your configuration, find the spot on the wall where your middle picture will hang. Tape up your template. Measure the distance both horizontally and vertically to your next frame. Measure that space on the wall and tape up the template. Keep going until all your templates are on the wall. This a good time to nudge them around if you think they need it.
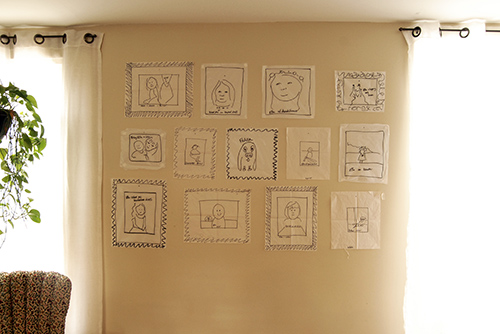 Now hammer a nail through the marked hook spot on your template. Pull off the template from the nail(try not to rip it!) and hang your photo.
 Repeat until all your frames are on the wall. All done.
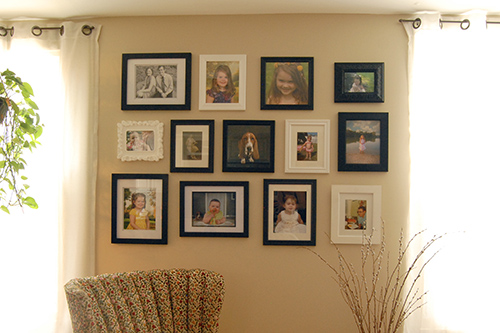 Save your templates in case you ever want to move your gallery to another wall! Here’s a great link to different gallery wall configurations if you need some inspiration!